Blog
-

Walking in the Footsteps of Saint Hildegard — September 2026
There are journeys that take you somewhere. And there are journeys that bring you back to something — something quieter and older than the noise of ordinary life. Walking in the Footsteps of Saint Hildegard…
-
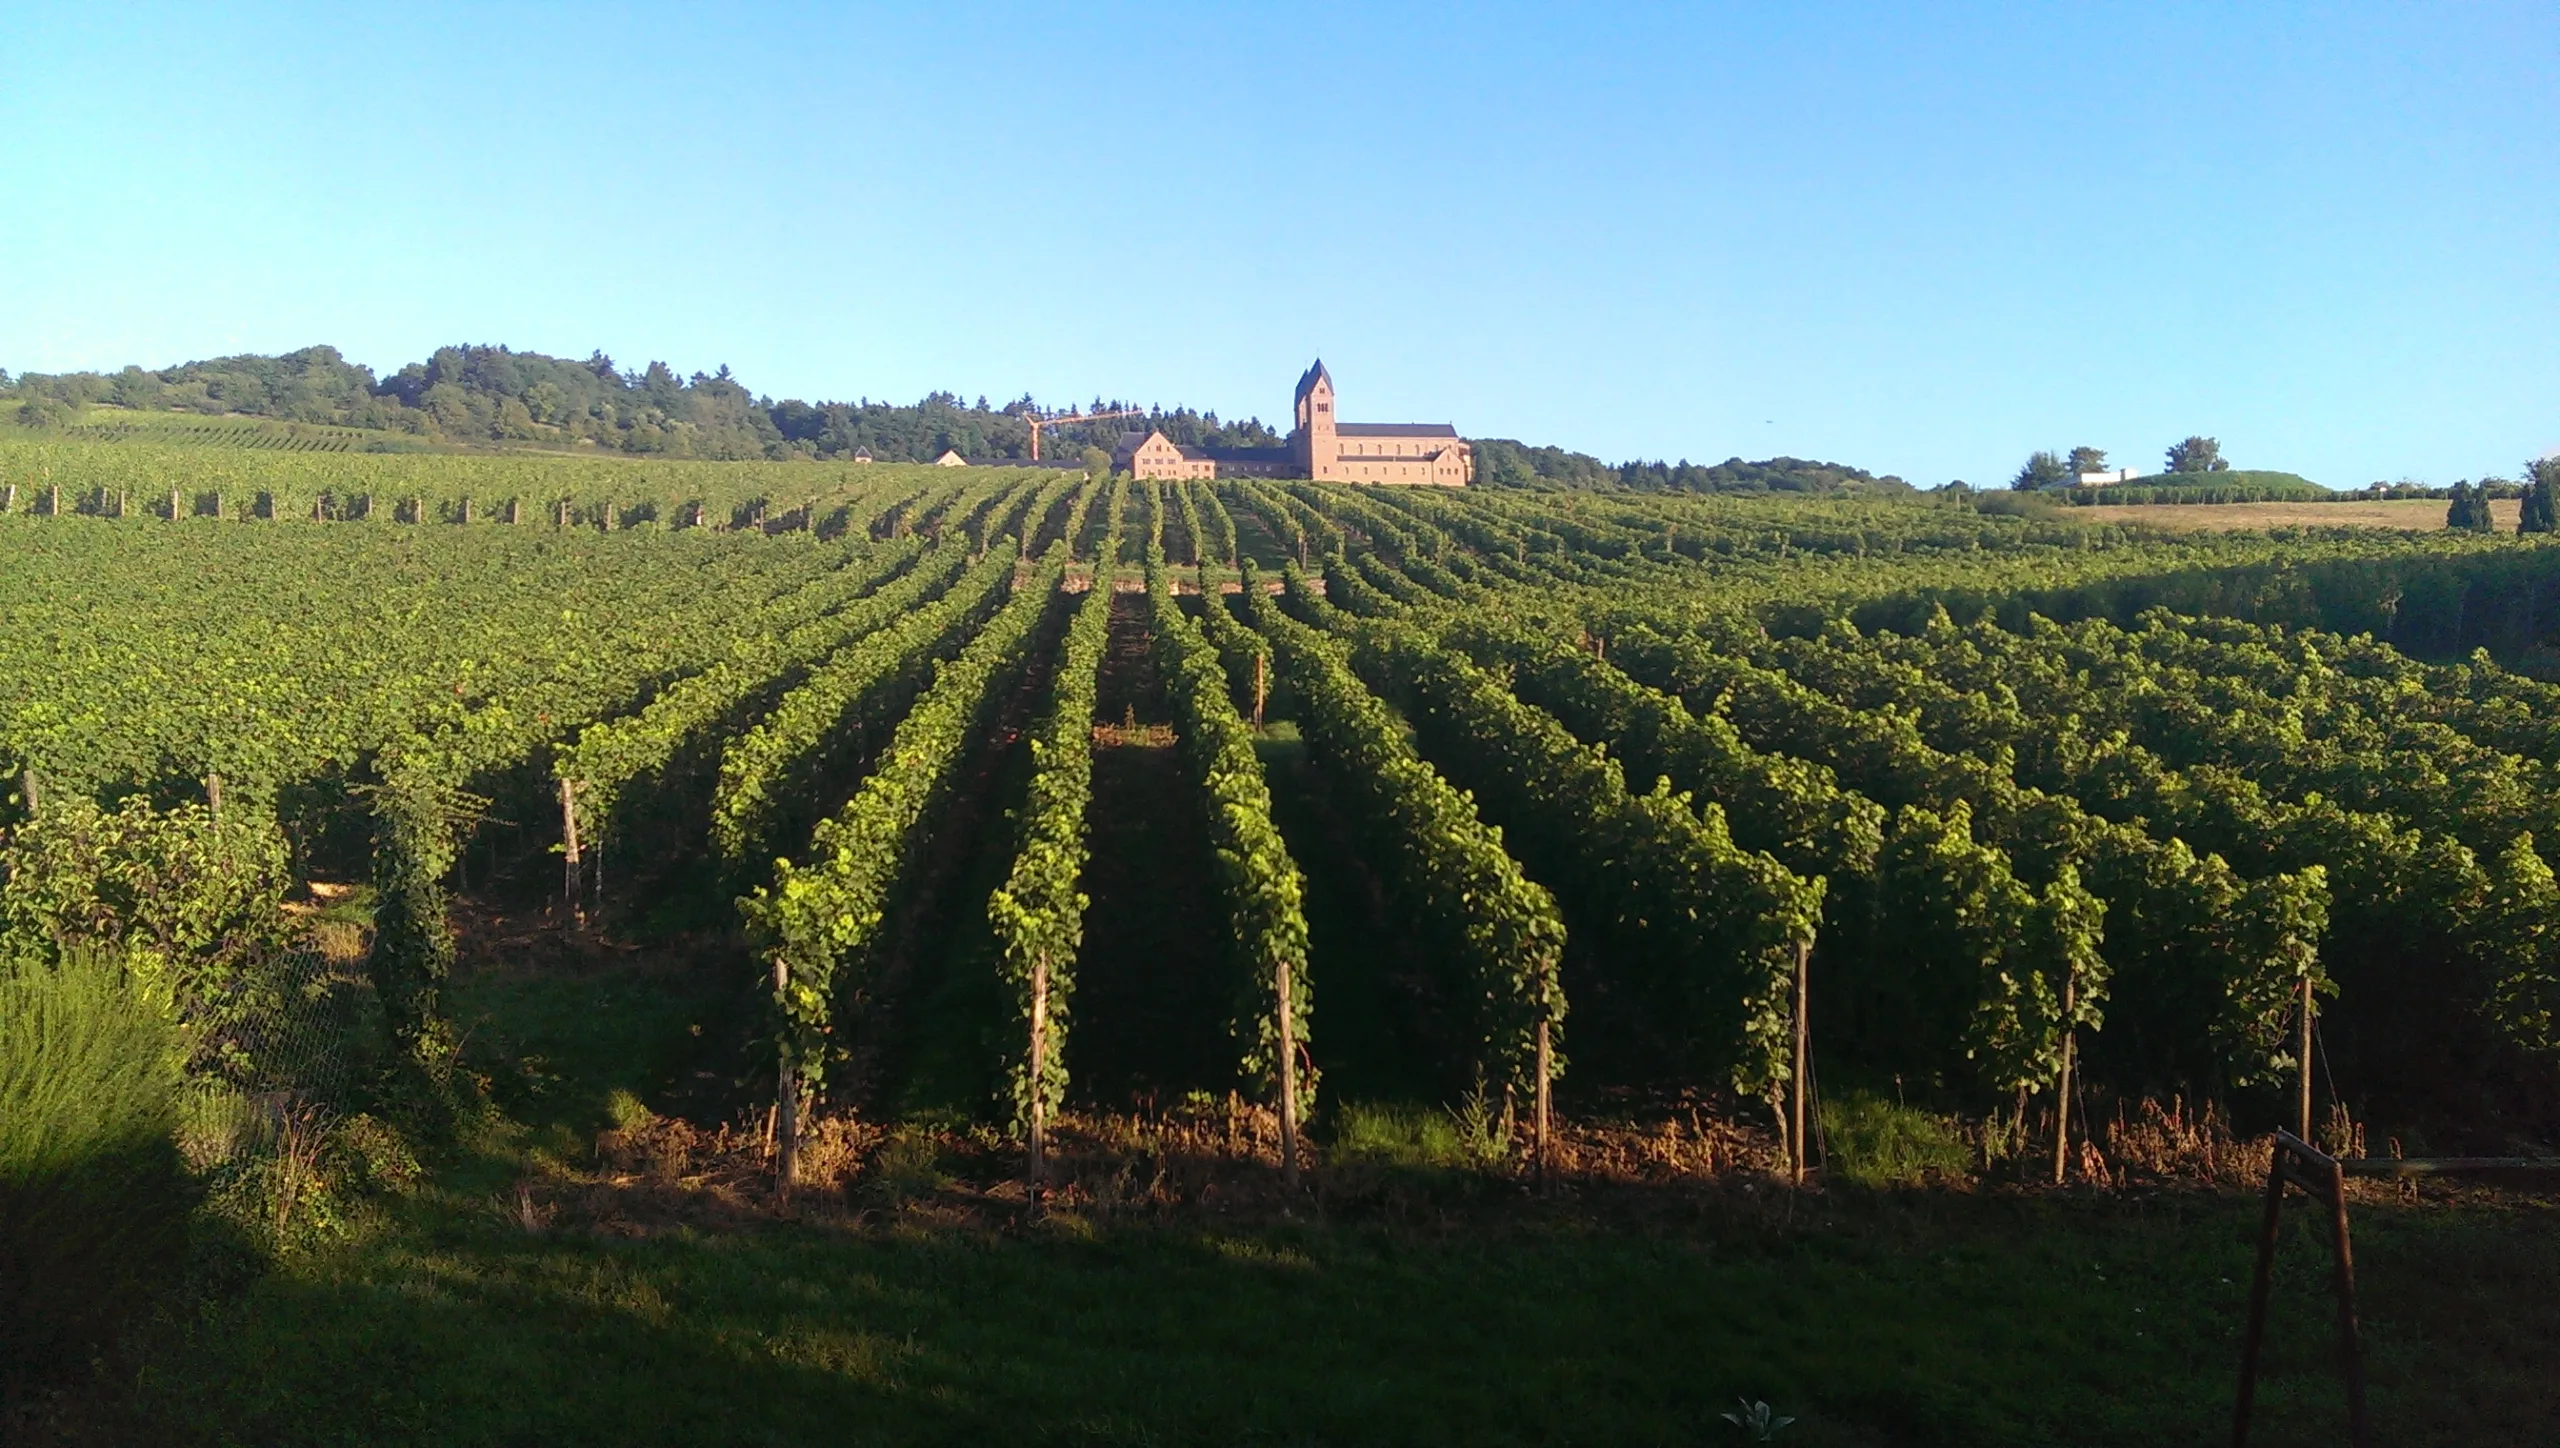
Walk in Hildegard of Bingen’s Footsteps
After our successful walking tour, we’re thrilled to be returning again to Germany. We will be once again offering spots for our exclusive, land-based, walking and cultural tour to the Land of Hildegard in the…
-
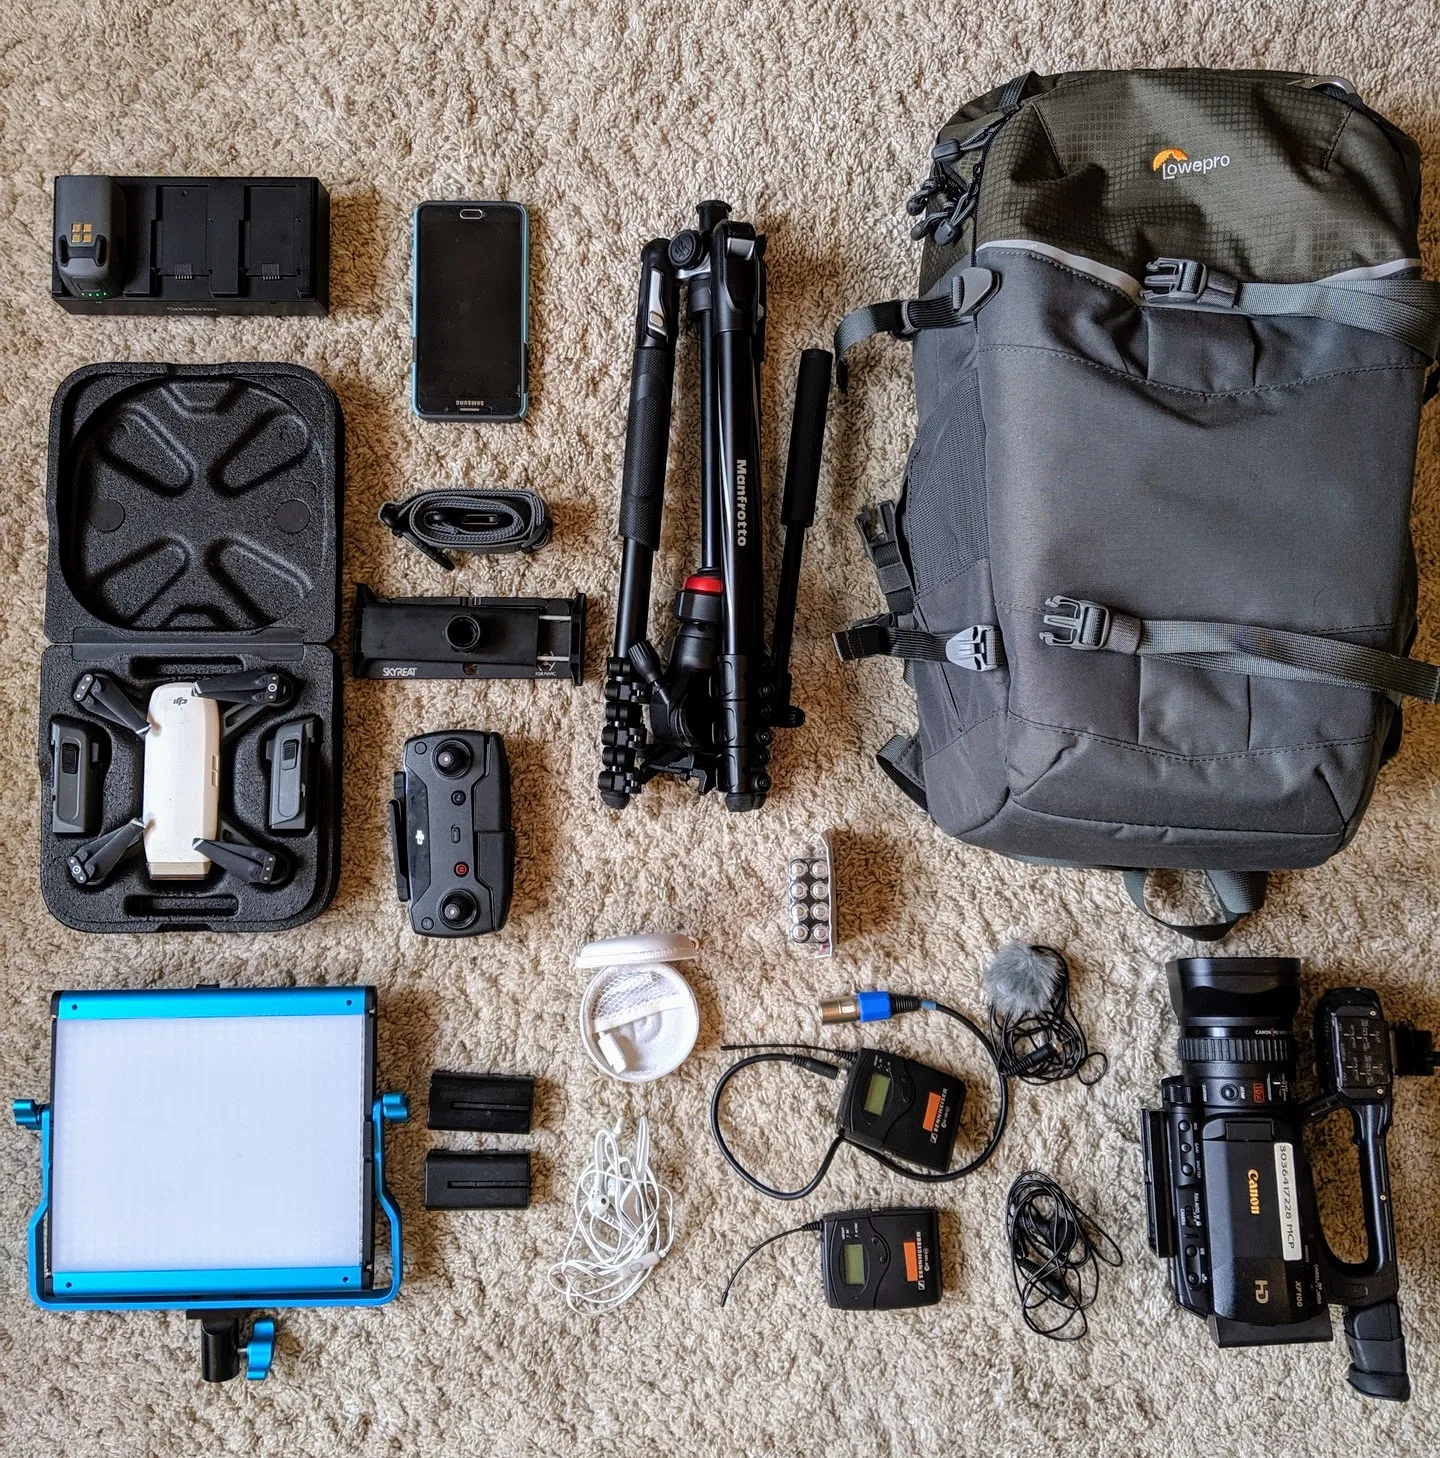
What is a backpack producer?
A backpack producer is a term used to describe a producer who is able to work on a film or video production with minimal equipment and a small team. The term “backpack” refers to the…
-

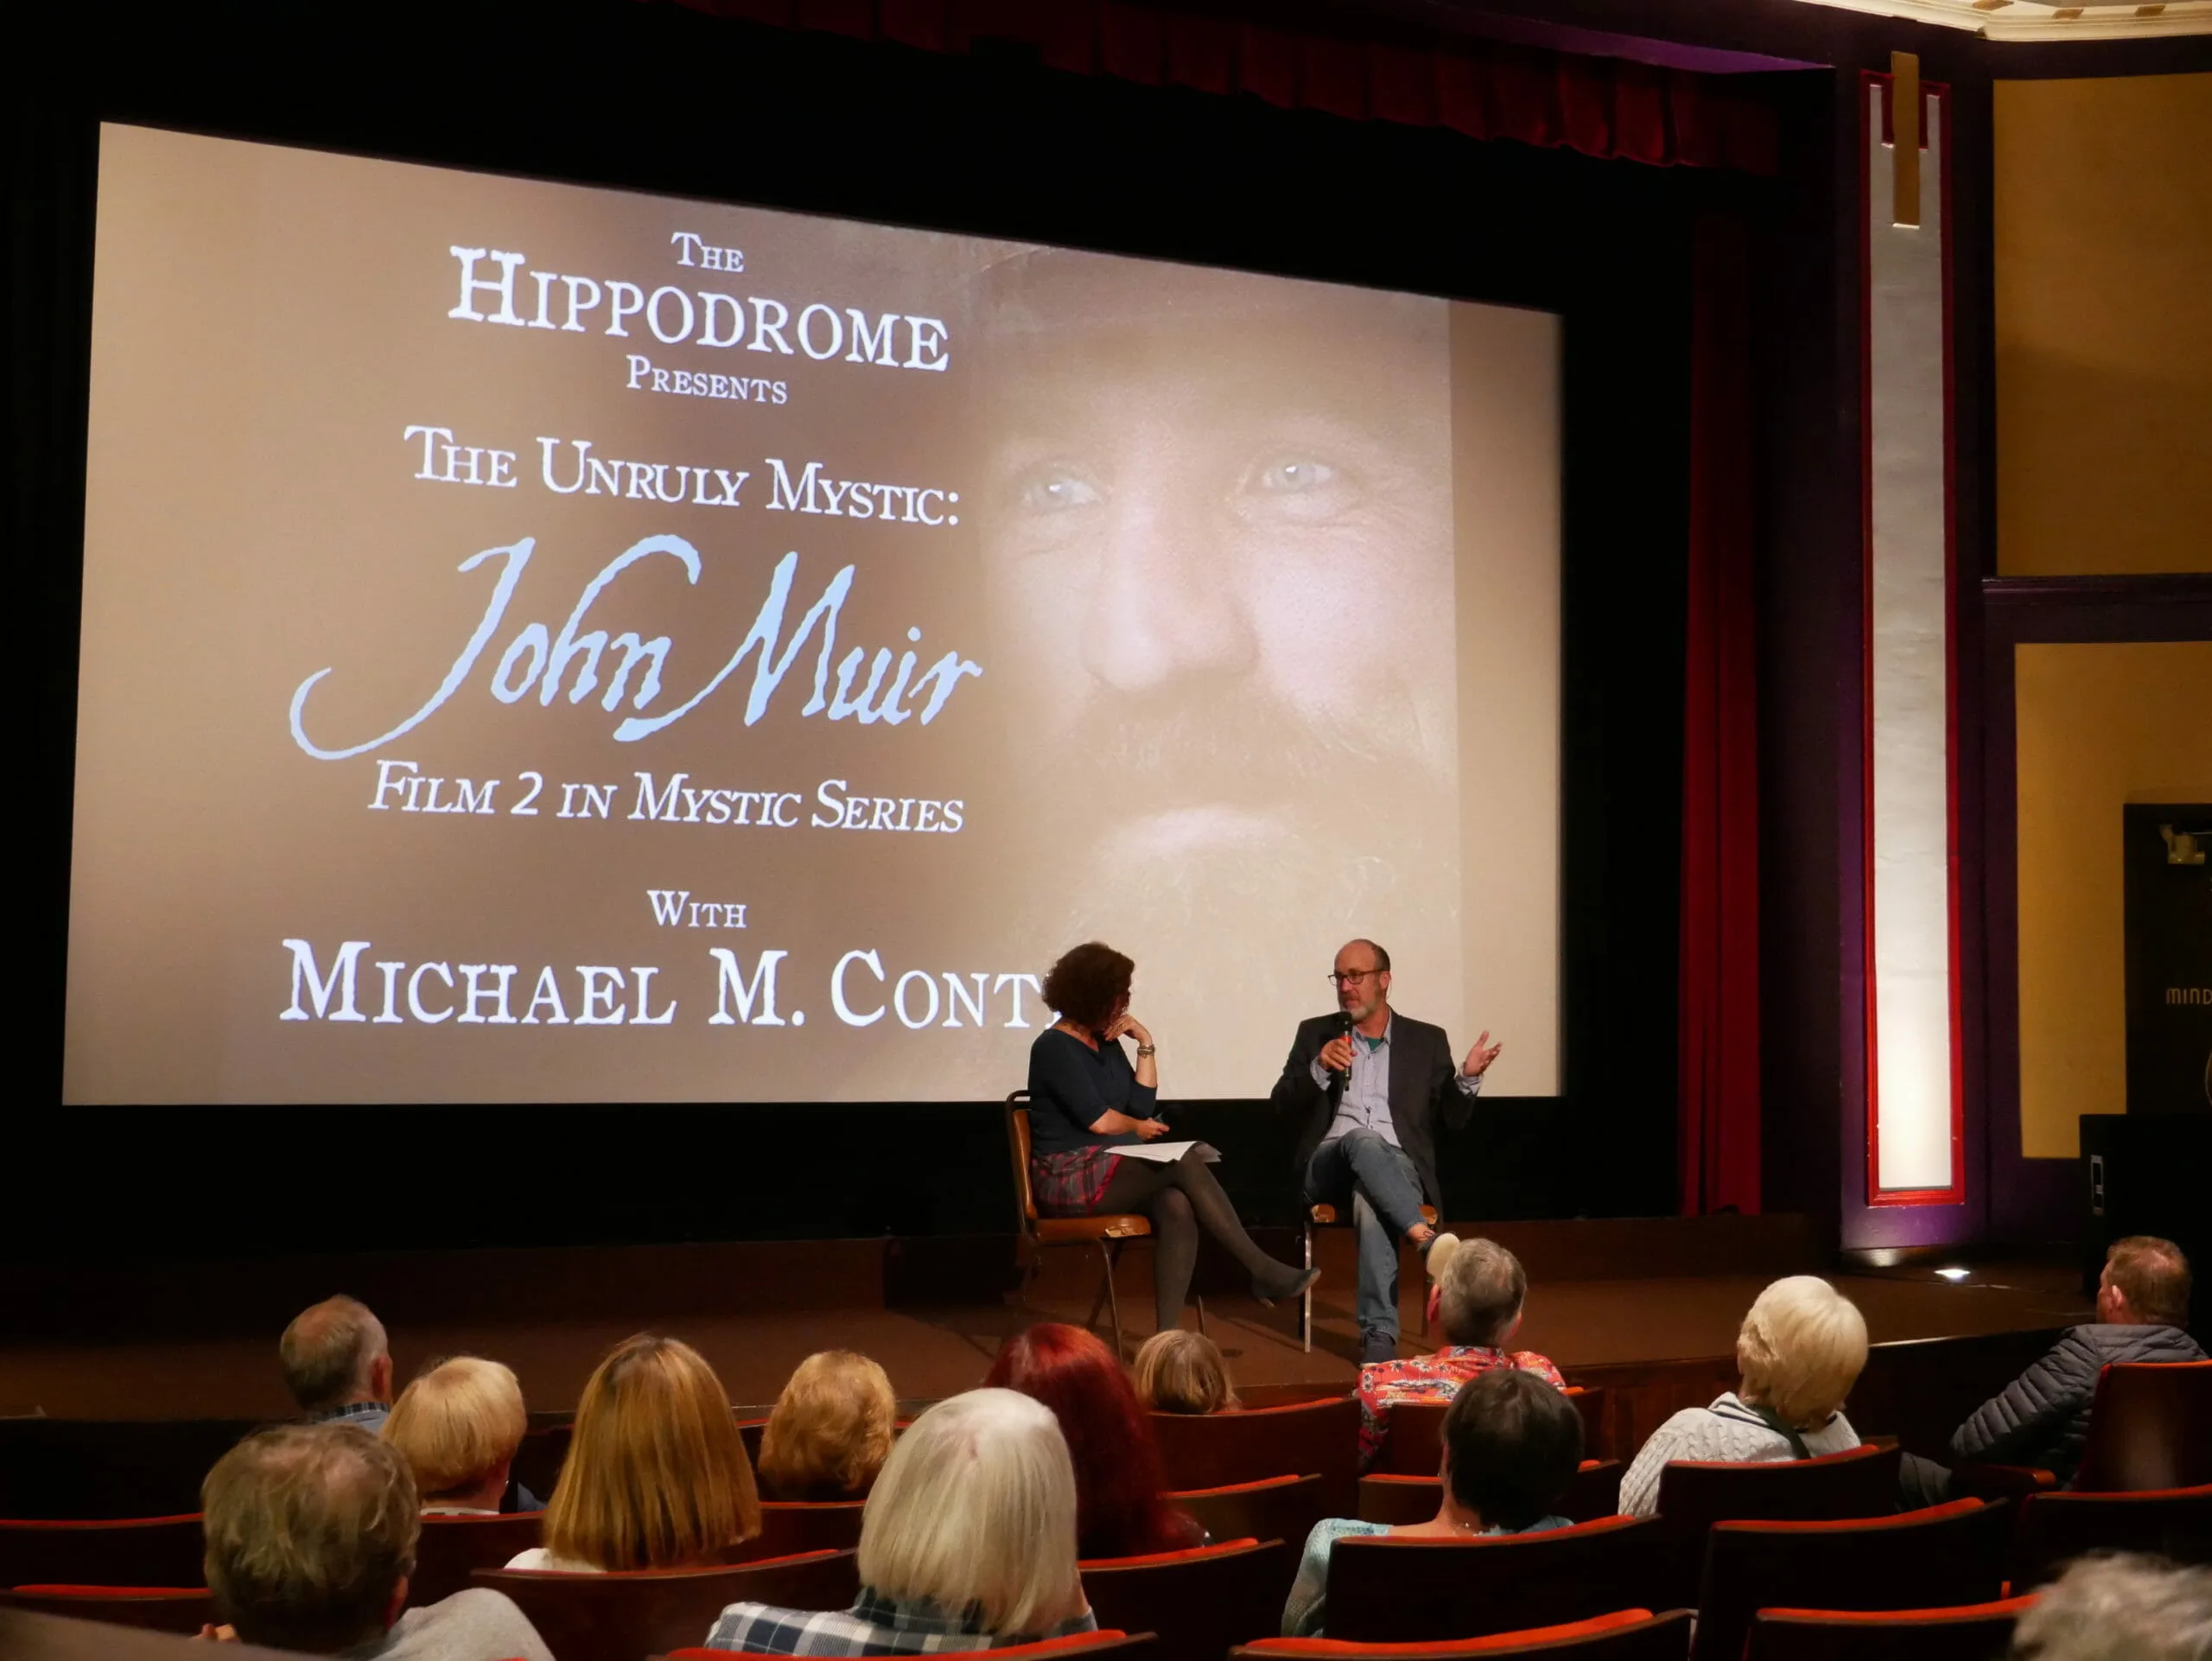
What is Crazy Wisdom?
Crazy wisdom is a term used in some Eastern spiritual traditions to describe a type of spiritual realization characterized by unconventional and seemingly irrational behavior. It is believed that individuals who have attained crazy wisdom…
-

How To Be a Productive Creative
I am reminded of how artists develop methods to create their work. In 1991, I was at Paramount Studios working as an office production temp and a director’s assistant to Bruce Robinson, who was in…
-

My Father the Astronomer – Peter S. Conti
Conti studied the spectra, mass loss and evolution of the large variety of massive stars, in particular O-type and Wolf Rayet stars. This led to the famous “Conti-scenario” that describes the evolutionary connections between the…
-
Self-Distribution if you do the work
“You should accept the fact that you can get there, but do not expect to make money on your theatrical release.” – Bruce Nash, The Numbers.
-
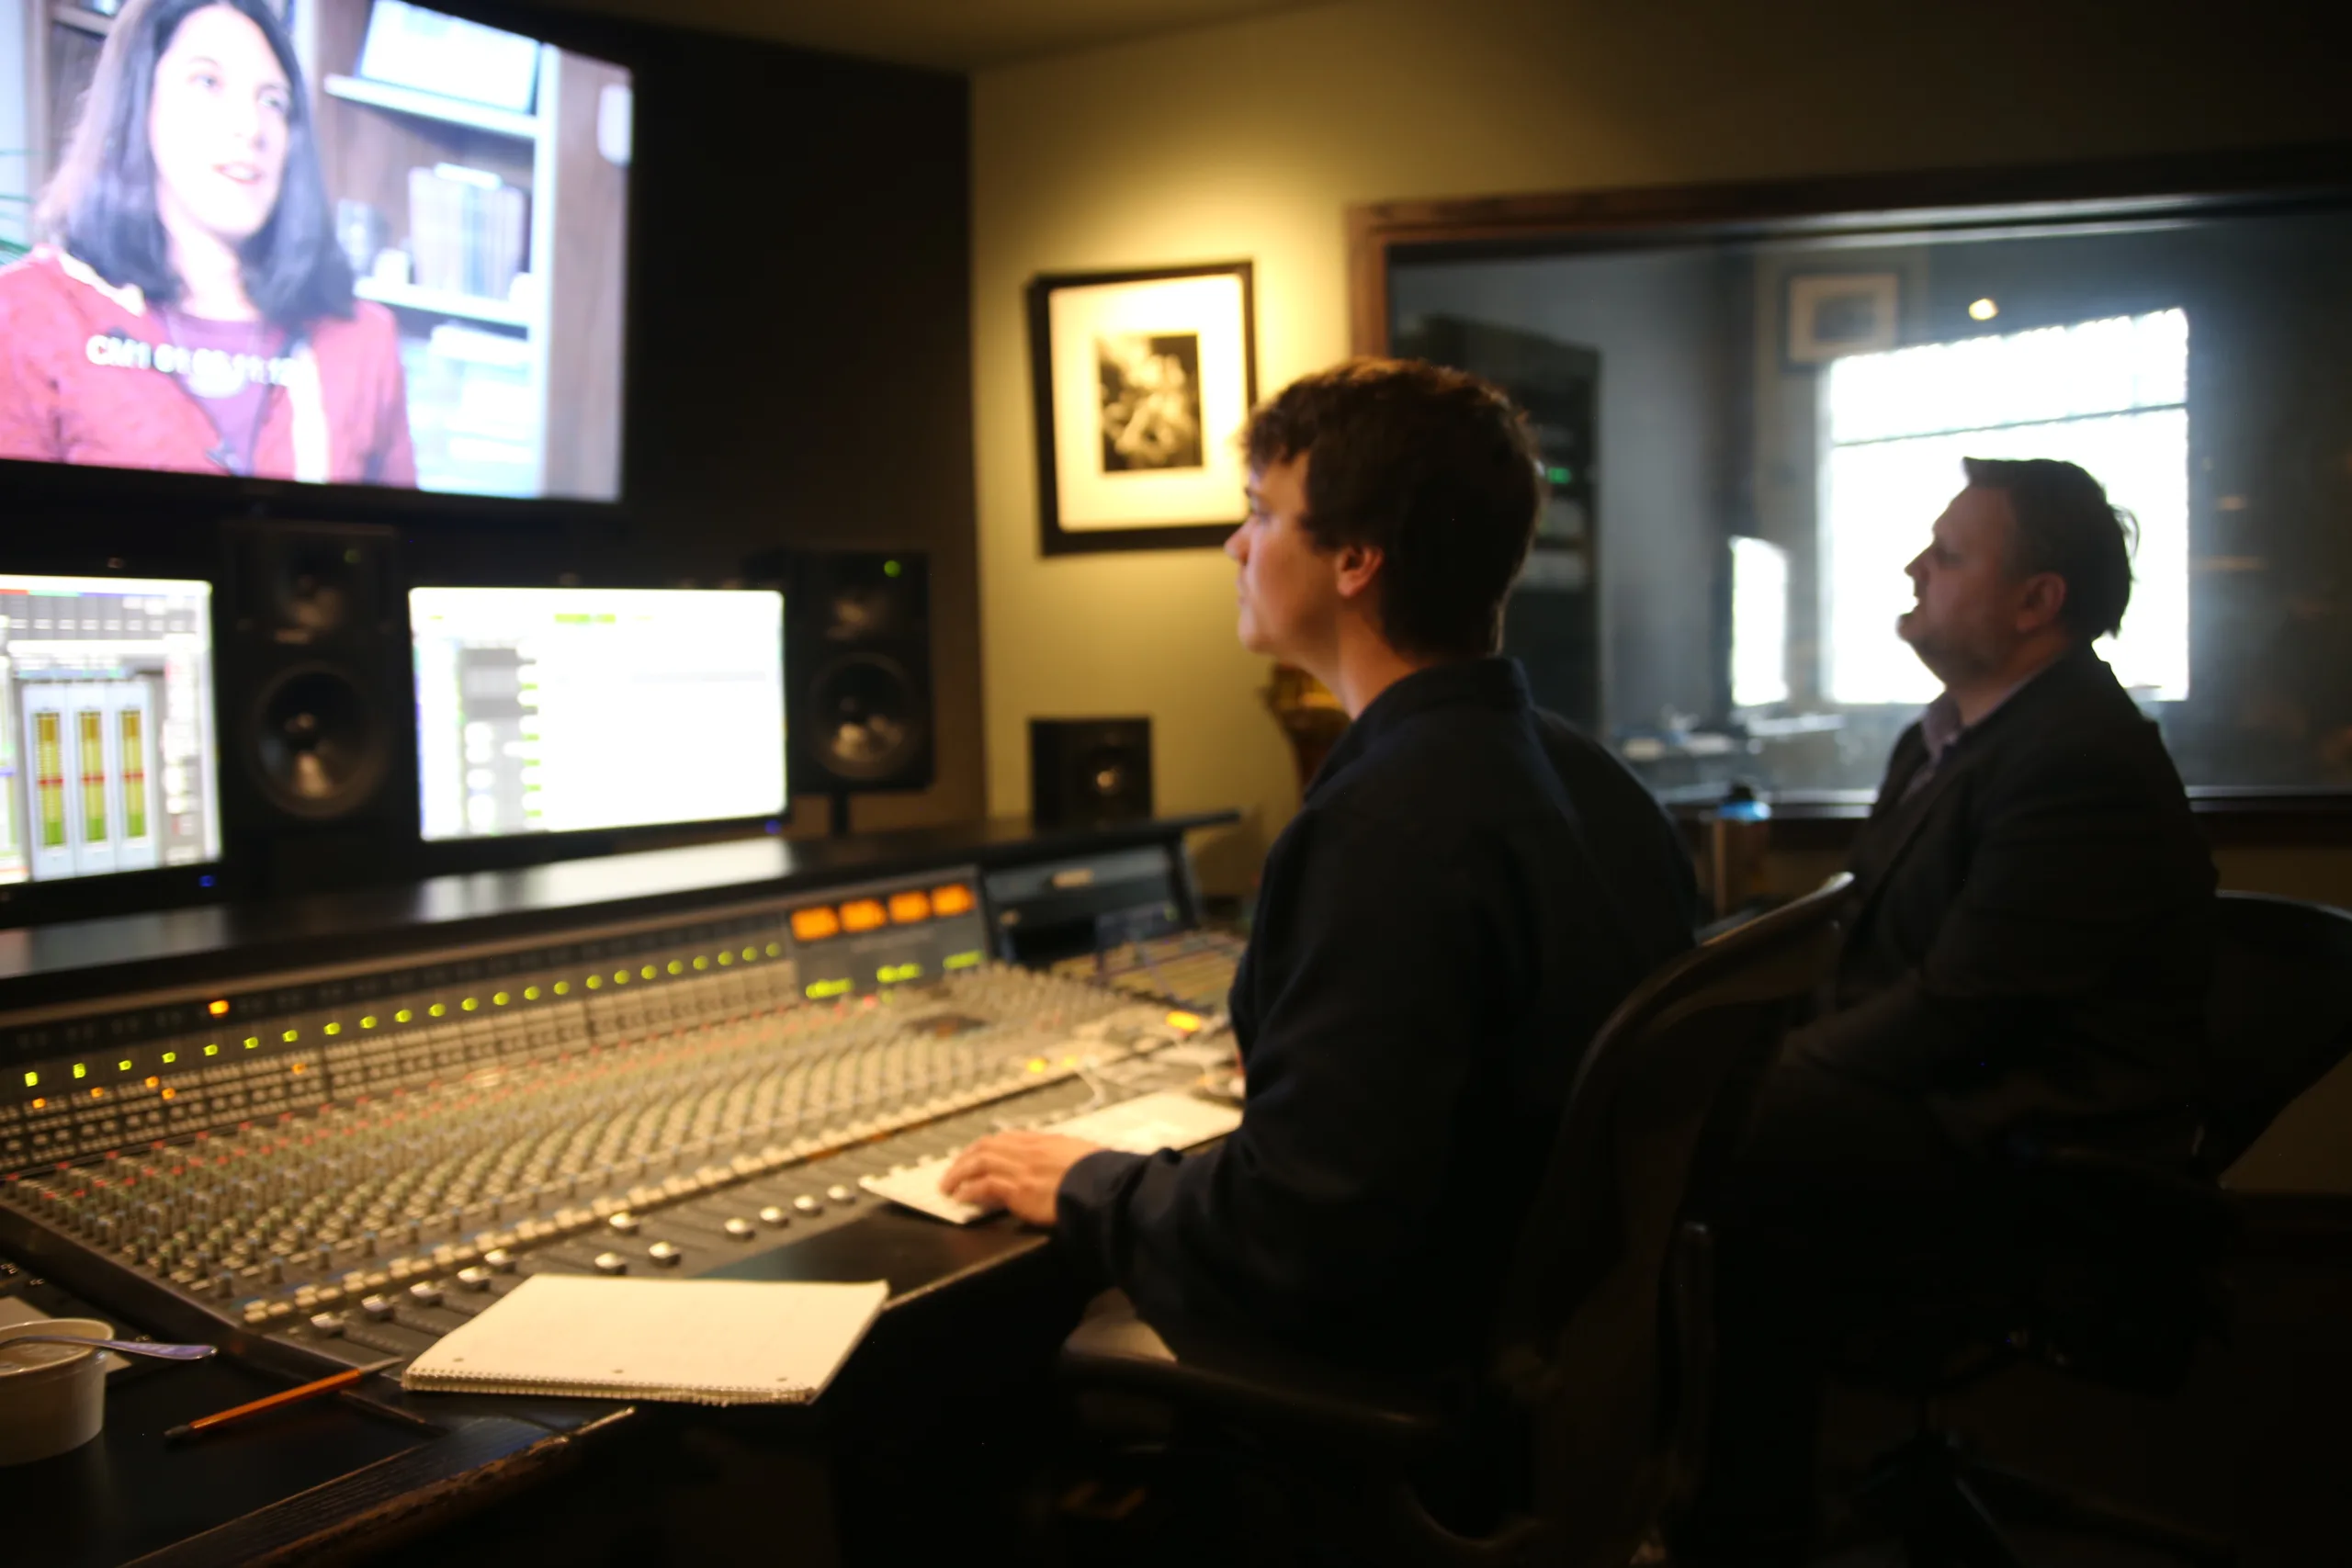
Getting ready in Post Production
There are many articles and books available on the editing process, but I want to share what worked for me.